Sweet Treats

Recipe—Strawberries & Cream Poke Cake

Strawberries & Cream Poke Cake

Fourth of July is right around the corner and that means it is summer party season! I absolutely love this time of year. Days sat around the pool, getting together with friends, and the awesome party food. Burgers, hot dogs, potato salad, garlic bread… yumm! But what is a summer BBQ without an amazing summer dessert? Crap. That’s what it is. I kid! I kid! For real though, every good bbq needs a good dessert. Like this one.

Beings that strawberries are in season this makes it the perfect summer dessert. If you have never made a poke cake then this recipe is a must try. It is so easy to make! You literally just poke holes into the baked cake and all the Jello just fills in the holes and soaks into the cake. It is incredibly moist and it just looks so pretty once you cut into it. Almost too pretty to eat. Almost. 😉

INGREDIENTS
1 box white cake mix (as well as any ingredients it requires)
3 oz package strawberry Jello
1 pint heavy whipping cream
1/2 c powdered sugar
1 tsp vanilla
fresh strawberries, sliced

STEPS

  • Prepare white cake per the package instructions in a 9” x 13” large square or rectangular baking dish and allow it to cool.
  • Bring one cup of water to a boil and remove from heat.
  • Add Jello to the hot water and stir until completely dissolved.
  • Add one more cup of cold water to the Jello mix, continue to stir, and set aside.
  • Using a fork, poke several holes into the cake.
  • Pour the Jello evenly over the top of the cake.
  • Cover the cake with plastic wrap and place in the fridge for a minimum of 3 hours.
  • After the cake has set, combine the heavy whipping cream, powdered sugar, and vanilla in a mixing bowl and beat until the whip cream thickens up.
  • Spread the whip cream over the top of the cake and then garnish with sliced strawberries as desired.
  • Serve and enjoy!


Recipe adapted from Chef in Training.

Sweet Treats

Recipe—Blackberry Ice Cream

Blackberry Ice Cream

Homemade ice cream is so easy to make and yet people hardly ever do it. I mean look, 4 ingredients and 3 steps. There is really nothing quite like homemade fresh churned ice cream. As a kid I grew up with an old school hand cranked ice cream maker. My mom would add all the ingredients to the metal container and then we would put it in a wooden bucket and surround that with ice and salt and my sister and I would take turns churning it by hand. Best. Summer. Memories. Ever! Anyone else do that growing up?

Now I have evolved with the times and have a wonderful electrical ice cream maker. You just add in the ingredients, plug it in, and watch it go! I have this one by Cuisinart and LOVE it!

My favorite time to use it is during the summer when we have friends over for a BBQ. The kids always love watching it and they think it is so cool to make their own homemade ice cream!

I’ve tried several different recipes, mint chip, vanilla, mocha almond fudge, cookies and cream, vanilla, and then this blackberry ice cream recipe. I think blackberry has been my all-time favorite! It is truly the flavor of summer.

Blackberry Ice Cream

Notes: I use fresh blackberries but you can always get frozen ones and defrost them. This recipe is for a 2 quart maker so if you have a 5 quart you may want to double it.

INGREDIENTS
3 c blackberries
1 1/2 c sugar
1 pint half and half
1 pint heavy whipping cream

STEPS

  • Combine the blackberries and sugar in a large bowl.
  • Mash all the blackberries and sugar by hand until they are all juicy and syrupy. (You can also place the berries and sugar in a blender if you prefer.)
  • Pour the blackberry mixture, half and half, and heavy whipping cream into your ice cream maker and churn until it is desired thickness.
Dinners

Recipe—Grilled Chili Lime Chicken Tacos with Pineapple Salsa

Grilled Chili Lime Chicken Tacos with Pineapple Salsa

Summer is coming… but the warm weather is already here! Time to fire up the grill!

I love when I can find recipes that are almost all done on the grill so I can keep the kitchen cool during hot months. I may also love recipes like this because it means I do the easy prep work and then the hubby does all the hard work out in the heat at the grill while I stay cool inside with a margarita. It’s all about team work, right? 😉

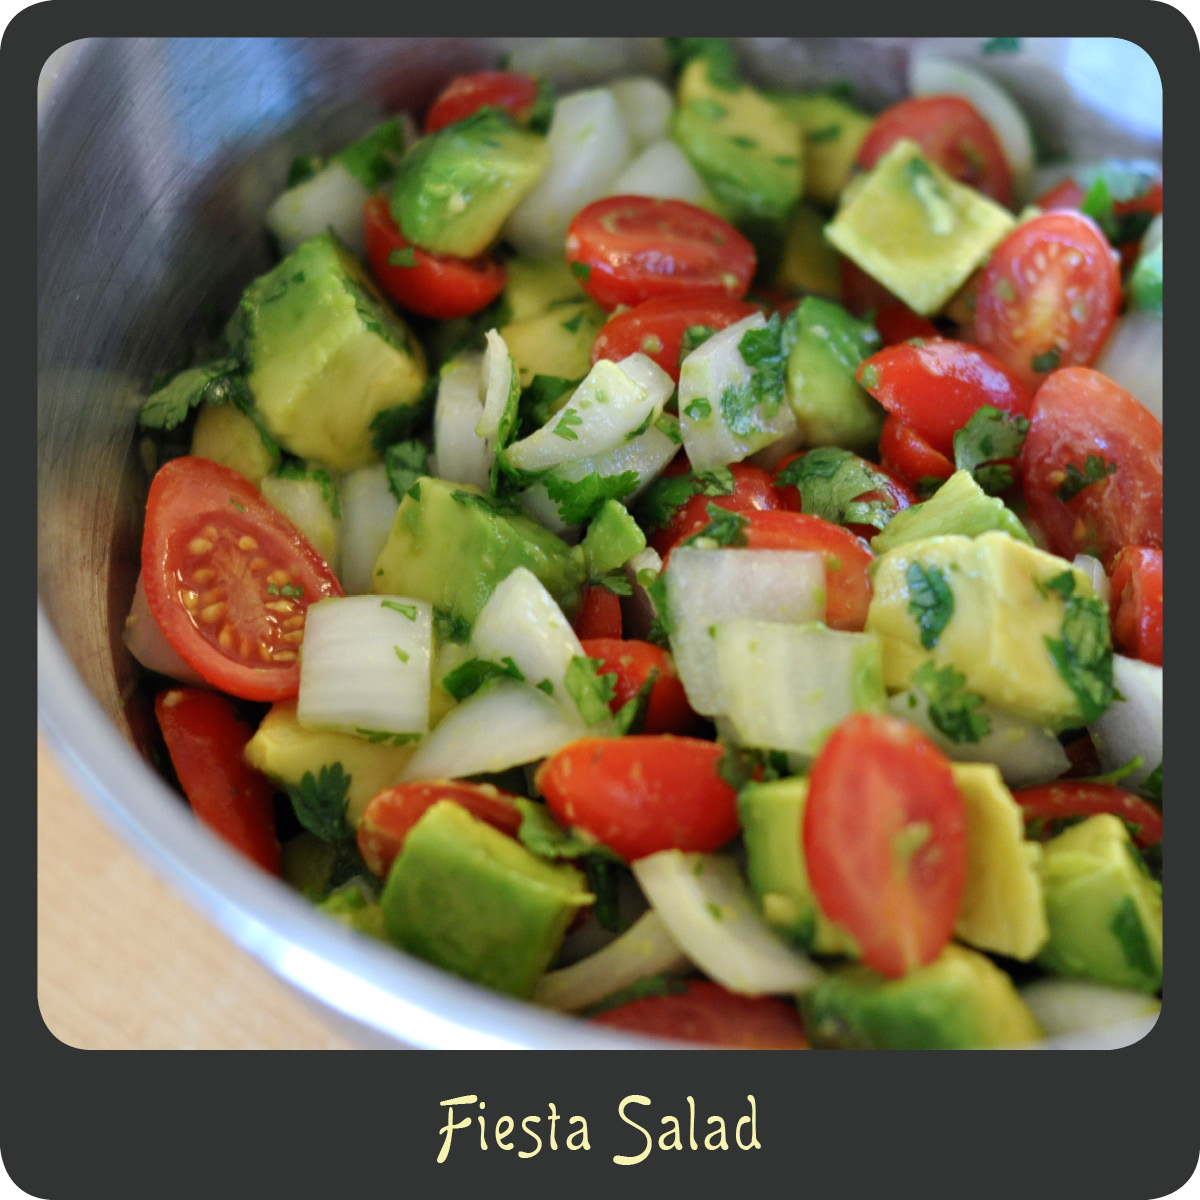
Okay, onto the dish. Each of these components is delicious on it’s own but when brought together you get some amazing tacos! You have the grilled chili lime chicken which is so tender and has so much flavor, a little zest from the lime paired up with all those delicious seasonings and a tad of heat. Then you have this delicious chunky salsa made up of a sweet caramelized pineapple with a nice smoky flavor from the grilled red pepper and jalapeño. And is if that isn’t enough, (yes, it gets better!) then you add this refreshing avocado crema. Just give me a bag of tortilla chips and I will go to town on that sauce!

Another thing I love about this recipe is how pretty it is! Look at all those amazing colors! I truly love everything about this recipe! I hope you will too.

Chunky Pineapple Salsa

Chunky Pineapple Salsa

Chunky Pineapple Salsa

Note: If you want to cut down on the amount of preparation at dinner time, you can marinade the chicken for as long as 24 hours in advance and the crema can be made up to four hours in advance. Having a chunk of the leg work done in advance makes this a perfect recipe to make for dinner guests. All you have to do is grill the chicken, pineapple, and peppers, and warm up some tortillas.

CHILI LIME CHICKEN INGREDIENTS
1 lb boneless skinless chicken breasts
2 tbsp olive oil
1 tsp chili powder
1/2 tsp ground cumin
1/2 tsp paprika
1/2 tsp onion powder
1/2 tsp garlic powder
3/4 tsp salt
1/4 tsp pepper
1 tsp brown sugar
2 tbsp lime juice

PINEAPPLE SALSA INGREDIENTS
20 oz can pineapple slices
1/2 red onion, sliced
red bell pepper, deseeded and quartered
jalapeno, deseeded and halved
olive oil
1/4 c cilantro, chopped
1 tbsp lime juice
1/4 tsp ground ginger
1/4 tsp cumin
salt and pepper to taste

AVOCADO CREMA INGREDIENTS
1 avocado
1/2 c sour cream
2 tbsp mayonnaise
1 tbsp lime juice
1/2 tsp salt
1/4 tsp ground cumin
1/4 tsp garlic powder

OTHER INGREDIENTS
tortillas
pepperjack cheese, shredded
lime, cut into wedges

STEPS

  • Place the chicken breasts in a large Pyrex dish.
  • Whisk together all the additional chili lime chicken ingredients in a small bowl and slather all over both sides of the chicken breasts.
  • Cover the Pyrex with plastic wrap and set aside to marinade for 30 minutes.
  • While the chicken is marinating, begin preparing items for the salsa. Skewer the red onions and then drizzle them, the bell pepper, and jalapeño with olive oil and set aside with the pineapple.
  • Preheat your grill to 375–425º.
  • Grill the chicken for 8–10 minutes on one side and then flip.
  • Add the pineapple and peppers to the grill and cook for 4­–5 minutes before flipping and then continue to grill them for another 4–5 minutes.
  • Continue to cook the chicken until a thermometer reads 160º when inserted into the thickest part of the meat, the pineapple until it is nicely caramelized, and the veggies until they have some nice grill marks.
  • Transfer everything from the grill to a cutting board and allow it to rest for 5 minutes.
  • While all the grilled items are resting get started on the avocado cream. Add all the crema ingredients to a blender and puree until smooth and well blended, set aside.
  • Chop up the pineapple, onion, and peppers and place them in a bowl.
  • Add the cilantro, lime juice, ginger, cumin, salt, and pepper to the bowl and stir.
  • Chop up the chicken and set aside.
  • Everything is finally ready! Time to assemble the tacos!
  • Heat up your tortillas and top each one with meat, cheese, pineapple salsa, and avocado crema.
  • Devour!


Recipe adapted from Carlsbad Cravings.

Appetizers

Recipe—Spicy Black Bean Dip

I might as well take on the title as Queen of Appetizers. It’s just what I do. I personally just love appetizers and finger foods and no party is complete without a nice spread. When it comes to throwing a party a good dip is a must on the appetizer menu. There is no need to spend hours slaving away in the kitchen to come up with something everyone will love. This recipe literally takes five minutes to make and is so easy! You spend more time measuring out the seasonings than anything else. Just toss it all in the blender and voila! You have a delicious bean dip ready to serve!

The flavors in this dip are amazing. It might look sort of blah but then you take one bite and zap, bing, bang! Flavor explosions happening right in your mouth! You have a nice kick from the jalapeños, a little zest from the lime and lots of other great flavors from all the seasonings. The first time I made this I was (no joke) licking it off the rubber spatula. This is great at room temperature, warm, or even right out of the fridge. Talk about diverse! Next time you are throwing or attending a party make this recipe. You will have lots of people asking for the recipe. No need to tell them it took less than five minutes to make. That can be our little secret.

INGREDIENTS
2 large cloves of garlic
1 jalapeño, deseeded, deveined, and chopped
1/2 c fresh cilantro
1 (15 oz) cans black beans, rinsed and drained
2 tsp cumin
1 1/2 tsp garlic salt
1/2 tsp chili powder
1/4 tsp dried oregano
1/4 tsp black pepper, ground
1 1/2 tbsp lime juice
1 tbsp balsamic vinegar
water

GARNISHES
cotija cheese, crumbled
a couple of slices of fresh jalapeño

STEPS

  • Place all of the main ingredients except the water into the blender or food processor and blend until well mixed.
  • Add 4 tablespoons of water and continue blending until nice and smooth. If necessary, continue adding water 2 tablespoons at a time until it reaches the desired consistency.
  • Transfer to a bowl and garnish with some crumbled cotija cheese and slices of fresh jalapeños.
  • Enjoy with some tortilla chips now or place in fridge until ready to serve.
Sweet Treats

Recipe—Mini Key Lime Pies

I have never eaten nor have I ever made key lime pie. However, I always think it looks beautiful and absolutely delicious! You may recall in one of my last posts that I mentioned for Easter I went with a tea party theme and did small bites. I wanted something very festive so I decided to finally wing it and do something totally different. I ended up with the cutest and most delectable little key lime pies. They were amazing! They were perfectly tart and had just the right amount of creaminess. And they were just so cute! If you follow my lead and get the premade crusts and whip cream this recipe takes no longer than 3 minutes to make and 15 minutes to bake. Who doesn’t have time for that? With summer warming up this really is the perfect refreshing dessert to enjoy on a warm day.

Note: I opted to make mini pies but you can just as easily make one big pie with this recipe. Adjust the baking time to 23–25 minutes.

INGREDIENTS
12 mini graham cracker pie crusts (I found Keebler ones in the baking aisle)
4 egg yolks
3/4 c key lime juice
zest from one lime
14 oz can sweetened condensed milk
1/2 c sour cream
whipped cream
1 lime sliced and then cut into quarters (optional)

STEPS

  • Preheat oven to 350º.
  • In a medium bowl combine the egg yolks, lime juice, zest, condensed milk, and sour cream and whisk until well smooth.
  • Place the pie crusts on a large baking sheet and top off each with the filling.
  • Bake pies for 18–20 minutes and allow to cool before moving to the refrigerator.
  • Chill the pies in the refrigerator for at least 3 hours before serving.
  • When ready to serve top each pie with a dollop of whip cream and a little slice of lime.
  • Enjoy! (And good luck eating just one!)
Salads

Recipe—Fiesta Salad

When most people think of salads they think of a big pile of greens topped with a handful of other veggies and dressing. Well this is not your ordinary salad. It consists of avocados, tomato, cilantro, and a sweet onion all tossed in a lime olive oil dressing. No lettuce here! I always make this with my Rio Grande Spice Rub New York Steaks and Cornbread Muffins. Seriously amazing! I also love this recipe with a nice piece of grilled fish. This simple salad is made up of fresh summer ingredients and is so light, and refreshing. Perfect for those nights you want a quick and easy side dish but just don’t want to fire up the oven.

Note: Since avocados can become mushy and brown quickly, wait to add the avocadoes until right before serving.

INGREDIENTS
2 c cherry tomatoes, cut in half OR 2 large tomatoes, chopped
1/2 sweet onion, chopped
1/4 c cilantro, chopped
kosher salt to taste
1/4 c olive oil
1/4 c lime juice
2 avocados, chopped (see note above)

STEPS

  • In a medium bowl combine the tomatoes, onion, cilantro, salt, olive oil, and lime juice. Toss to combine.
  • Add the avocado last and gently stir it in.
Salads

Crunchy Apple Bacon Coleslaw

Sweet + Salty+Tangy + Crunchy = Delicious and Unique Coleslaw

I am always looking for new and tasty side dishes to serve up throughout the summer. One day on Pinterest I stumbled upon a recipe for apple bacon coleslaw. I did some more poking around and actually found that there were lots of variations of this type of recipe out there. In true Diva form I pulled from several of the recipes and came up with this one. It, of course, is the best. 😉

Not only did the flavors compliment each other well but so did the textures. Coleslaw usually tends to all be the same consistency but the sweet apples added a really nice crunch to the mix and went so well with the salty bacon and tang from the dressing. I really like to enjoy this dish with some BBQ chicken or ribs for a perfect summer meal.

INGREDIENTS
1/4 c cider vinegar
1 c mayonnaise
1/4 c sugar
1/4 orange juice
2 tbsp lemon juice
2 teaspoons kosher salt
1 tsp pepper
1 fennel bulb, shredded
1 cabbage head, shredded
6 strips of bacon, cooked and chopped
2 green onions, thinly sliced
1/2 c parsley leaves, chopped
4 firm apples, chopped

STEPS

  • In a medium bowl whisk together the vinegar, mayonnaise, sugar, orange juice, lemon juice, salt and pepper until most of the sugar is dissolved.
  • Place the fennel, cabbage, bacon, green onions, parsley, and apples together in a bowl and mix together.
  • Pour the dressing over the coleslaw and toss to coat.
  • Cover and place in the fridge until ready to serve.


If you think this recipe looks great then check out these ones too!

Kohlrabi Dill Coleslaw

Crunchy Pea Salad

Broccoli Salad

Appetizers

Recipe—Herbed Cucumber Bites

I have been wanting to host a tea party type of event and this year Easter was the perfect occasion. We were just having a couple of people over so I did all sorts of small bites. So fun and classy! The cucumber rounds were one of my faves! They were so light and refreshing and reminded me of the typical cucumber sandwiches you would have at a tea party, minus the rye bread. These are definitely the perfect snack for bridal showers, baby showers, or an afternoon tea.

INGREDIENTS
8 oz block of cream cheese, softened
1/4 c fresh dill (or 1 tbsp dried)
2 tbsp dill pickle juice (just the stuff form the jar)
3/4 tsp onion powder
1/2 tsp garlic powder
pepper
1 green onion, finely chopped
1 cucumber, sliced
parsley to garnish (optional)

STEPS

  • In a medium bowl beat together the cream cheese, dill, pickle juice, onion powder, garlic powder, pepper, and green onion until smooth.
  • Transfer the mixture to a pastry bag or a Ziploc bag.
  • Pipe the herbed cream cheese mixture onto each cucumber round.
  • Garnish each cucumber with a sprig of parsley on top.
  • Serve immediately or cover and store in the fridge until ready to enjoy.
Dinners

Recipe—Creamy Tomatillo Chicken

Tomatillos are one of those things that I am just figuring out what to do with. I remember as a kid peeling the husks off them all summer long since my mom grew them in her garden but all I remember her really making was her tomatillo salsa.

Every once in awhile I end up with a small bag of them from a friend or our produce delivery. Never enough to actually make a whole batch of salsa with. But now I can say I have two recipes that use tomatillos. One is my green chicken chili, which I promise to post soon, and the other is this incredible Creamy Tomatillo Chicken recipe.

If you can prepare the sauce the night before it is perfect for a busy workday. Just come home, take the marinated chicken out of the bag, and bake. After marinating for that long you are sure to get a super juicy and flavorful chicken breast. The ranch gives it a nice refreshing quality while the cilantro and lime give it a little zip! While I served this with rice which was awesome, I really want to try the chicken chopped up over some greens with corn, black beans, and some red bell pepper. The sauce would make for an amazing dressing over a little southwest salad!

INGREDIENTS
1 c mayonnaise
1/2 cup buttermilk
1 package dry ranch dressing mix
2 1/2 tsp garlic
1 c cilantro leaves
4 tomatillos, husked and chopped
1 tsp lime juice
4 boneless skinless chicken breasts

GARNISHES (Optional)
Lime wedges
Extra cilantro leaves

STEPS

  • Add into a blender the mayonnaise, buttermilk, ranch dressing mix, garlic, cilantro, tomatillos, and lime juice.
    Blend until well combined and transfer about half of the mix to a one-gallon Ziploc Bag.
  • Add the chicken to the bag and seal tightly.
  • Store the chicken in the fridge and marinade anywhere from 30 minutes to overnight.
  • Transfer the remaining marinade in a small bowl, cover, and place in the fridge until ready to serve.
  • When ready to begin cooking preheat the oven to 375º and transfer the chicken breasts to a baking dish.
  • Dispose of the leftover marinade.
  • Bake the chicken for 20–25 minutes or until cooked completely through.
  • Transfer the cooked chicken to the plate and poor the additional sauce over the top.
  • Garnish with a lime wedge and some fresh cilantro leaves.
  • Enjoy! 

Recipe adapted from Creme de la Crumb.

Sweet Treats

Recipe—Sweet Cream Dip with Strawberries


My name is Rebecca, and I am a strawberry addict. No really. I am. I have memories of going to the grocery store with my mom and getting little green baskets of strawberries. (Does anyone else remember the classic little basket?) Anyways, she would have to get an extra basket because I would sit on the car ride home and eat an entire basket! No joke. Straight to my dome. My childhood was amazing like that.

We are officially in June, which means full swing strawberry season in California! I think strawberries are perfect just as they are and I could still eat a fresh basket of them straight up. However, this recipe takes them to a whole other level. I actually made this for a pool party we went to at a friend’s house. Thought it would be something fun and different. We destroyed the whole bowl of dip. No shame. We ran out of berries and were dipping anything else we could find into it. Graham crackers, pineapple, you name it. Still amazing! Try it. You will love it too.

INGREDIENTS
1/2 c brown sugar, firmly packed
8 oz cream cheese, softened
1 c sour cream
1 tsp vanilla extract
1/3 c Kahlua
1 c Cool Whip
Strawberries

STEPS

  • Place the brown sugar and cream cheese in a medium bowl and beat with an electric mixer until smooth.
  • Add in the sour cream, vanilla, and Kahlua and continue mixing until nice and smooth.
  • Fold in the Cool Whip until well incorporated.
  • Cover and place in the fridge for 2–3 hours. (Good luck waiting that long!)
  • When ready to serve sprinkle with a little brown sugar and serve with strawberries or any other favorite fruit.

If you like this recipe then I highly recommend you check out these other awesome dessert dips!

Sweet Cherry Chip Dip

Toffee Apple Dip

Funfetti Cake Batter Cookie Dip