Salads, Side Dishes

Recipe—Red, White, & Blue Potato Salad

Hello grilling season! It is great to have you back in my life! (And all of you amazing followers too!) Nothing says summer like lazy days with friends, sun shining on your skin, hot grilled meat, and some tasty side salads! 

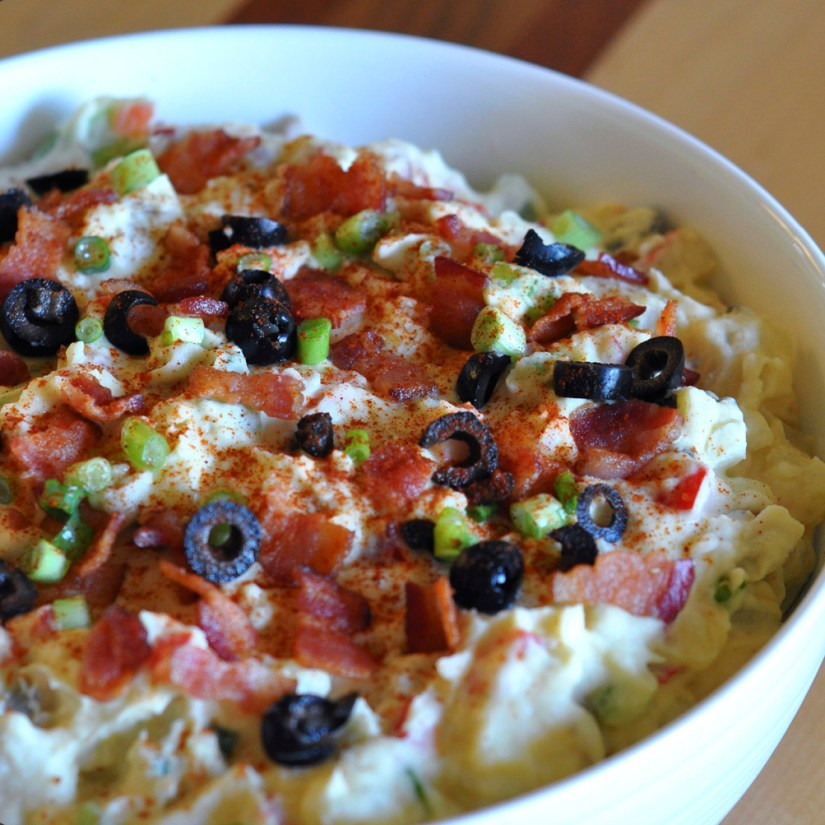
With 4th of July just around the corner it feels like the perfect time to share one of my favorite summer side dish recipes with y’all. This Red White and Blue Potato salad is packed with all my favorite flavors and by favorite flavors, I mean bacon and blue cheese. 

This salad is an amazing complement to any bbq dish, but we especially love it with a nice steak and some red wine. Just something about the way all those flavors come together is top notch. *chef’s kiss*

Note: I like to set aside some of the bacon, blue cheese crumbles, and green onions to garnish the top of the salad with.

INGREDIENTS
3 lbs baby red potatoes, chopped into 3/4” cubes
1/2 cup mayonnaise
1/2 cup sour cream
1/2 tsp dill
1/2 tsp salt  
1/4 tsp ground mustard 
1/2 tsp onion powder  
8 slices bacon, cooked and chopped
3/4 c blue cheese
1/2 c green onion, sliced

STEPS

  • Place the chopped potatoes into a large pot and cover with water. 
  • Bring to a boil and cook for approximately 12–15 minutes, or until the potatoes are soft and tender.
  • Drain the potatoes and transfer them into a large bowl and allow to cool for 30 minutes. 
  • In a medium bowl mix together the mayonnaise, sour cream, dill, salt, ground mustard, and onion powder. 
  • Add the bacon, blue cheese, and green onion to the bowl with the potatoes. 
  • Pour the dressing over the top of the potatoes and other ingredients and stir to combine.
  • Cover and chill for at least 2 hours before serving. 

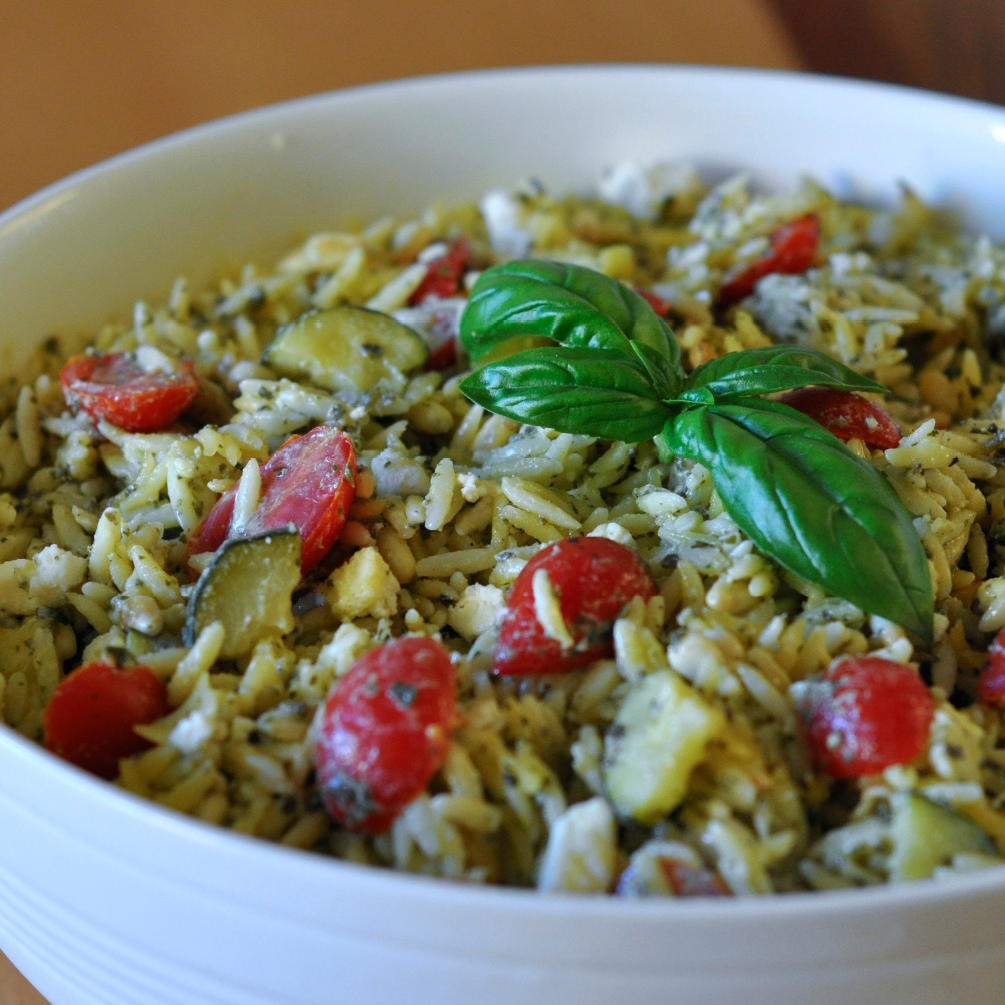
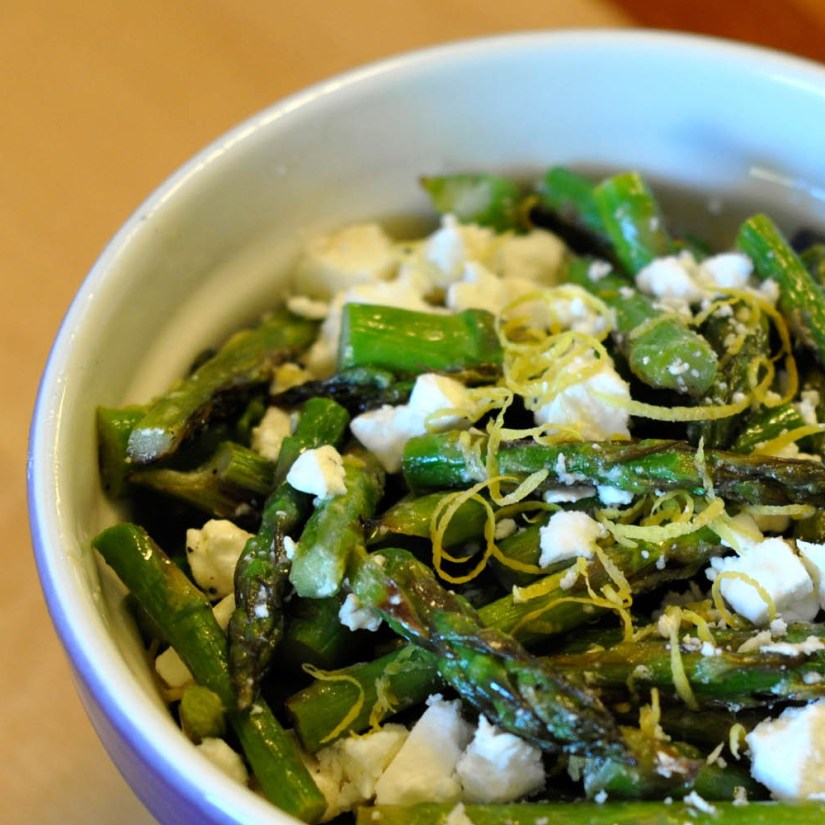
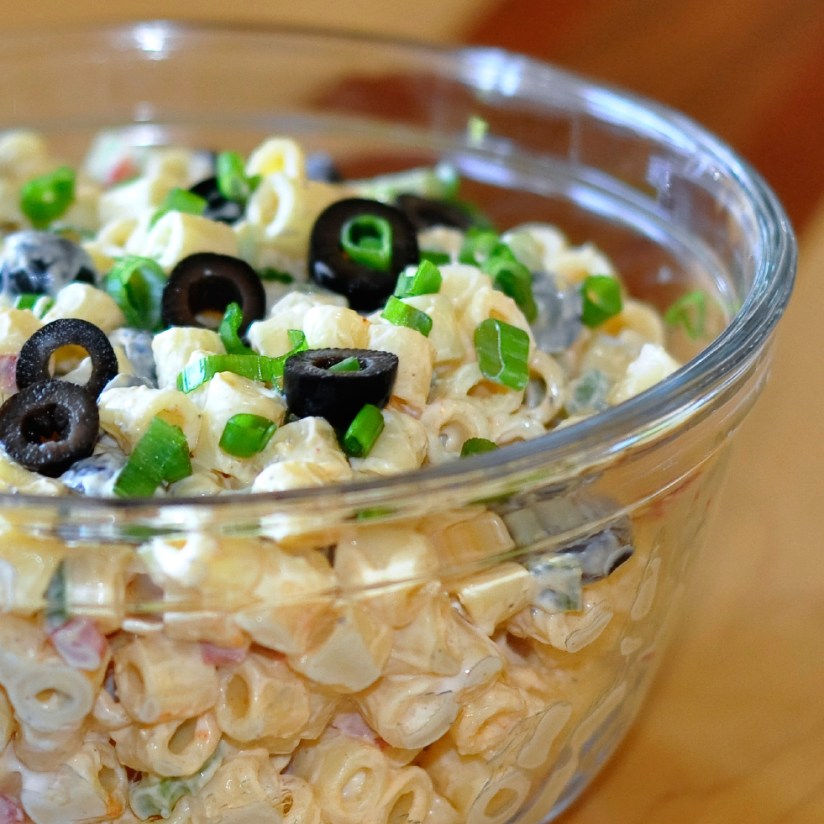
Here are some other amazing summer side dishes to try out!

Salads, Side Dishes

Recipe—Creamy Dill Red Potato Salad

Summer is upon us! Well not quite, but we are so close! I can literally smell it! The smell of grilled meat has infiltrated the warm evening air in my subdivision and I am itching for a good ol’ fashioned cookout.

One thing I absolutely love about summer BBQs are all the cold salads. Macaroni salads, potato salads, mmmmmmm… mmmm… mmmm! (I really should not write these posts when I am hungry because right now, I am salivating just thinking back to this potato salad.)

I have a go to potato salad that is loaded with bacon, olives, bell peppers, onions, and so much more and it is amazing, but sometimes I am looking to mix it up with something a little more simple and lighter. 

The red potatoes really come out fluffy and then the super creamy dressing is a little tangy from the vinegar and sour cream and then you have this delicious dill flavor. So simple and so lite. Perfect for these warm summer days!

INGREDIENTS
8 large red potatoes, diced
1 c sour cream
1 c mayonnaise
1/2 c red wine vinegar
1 1/2 tsp dill
salt and pepper
4 green onions, chopped

STEPS

  • Add 1–2 tablespoon of salt to a large pot of water and bring to a boil.
  • Add the diced potatoes and boil for 10–14 minutes or until fork tender.
  • While the potatoes are boiling whisk together the sour cream, mayonnaise, vinegar, dill, salt and pepper in a small bowl.
  • When the potatoes are done cooking drain them in a colander and transfer to a large bowl.
  • Add most of the green onions (saving a handful for garnish) and dressing and toss to coat. 
  • Garnish with the leftover green onions and a little bit of the dill.
  • Cover with a lid or saran wrap and refrigerate for at least 4 hours. The longer it rests, the better the flavors.

If you like this recipe, then I highly recommend you check out these other awesome salads that make for great additions to your BBQ menu!

Italian Pasta Salad

Italian Pasta Salad

Classic Macaroni Salad

Classic Macaroni Salad

Orzo Pesto Pasta

Orzo Pesto Pasta

Salads, Side Dishes

Recipe—Cauliflower Tabbouleh

To me, spring means transitioning those hearty comfort foods to lighter more refreshing dishes. Gotta start getting this body bikini ready! Just kidding, this mom bod hasn’t rocked a bikini in over 11 years. A good ol’ tankini is more my style. LOL In reality, I just crave lighter foods as the weather warms up, and the produce section of the grocery store transitions with the season. Everything just seems more vibrant and robust.

This cauliflower tabbouleh is perfect for warmer weather as it requires no cooking, so you can leave that hot stove off. The flavors in this dish are so refreshing as it is PACKED with herbs! You have lemon zest, mint, garlic, and red pepper. Freaking delish!

This dish is one of those that actually gets better as it sits. I like to make it the day before I plan on eating it so the cauliflower bits really take on all those yummy flavors. It is one of those perfect dishes to make on Sunday to have for lunches throughout the week. You know I am all about that meal prep! (Just beware, you may have some garlic breath so pack some gum too.)

While traditional tabbouleh is made from bulgar wheat, I actually use a bag of riced cauliflower in this recipe making it keto friendly and low calorie. It goes fantastic with some grilled Greek chicken and tzatziki!

INGREDIENTS
10 oz bag frozen riced cauliflower, thawed
cucumber, peeled and chopped
1 cup small tomatoes, cut in half
1 c fresh parsley, chopped
1/4 c mint leaves, chopped 
2 green onions, thinly sliced
1 tsp garlic, minced
2 tbsp extra virgin olive oil
1/4 tsp lemon zest
2 tbsp lemon juice
1/4 tsp crushed red pepper flakes
1 tsp salt

STEPS

  • Combine all ingredients in a large bowl and stir to combine. (Yes, it really is that easy.)
Salads, Side Dishes

Recipe—Summertime Marinated Tomatoes

Summertime Marinated Tomatoes

Summertime means my garden is going nuts and producing more tomatoes than we can get through in a day. No joke. I am sometimes getting 4–5 huge ripe tomatoes a day! I love it! You just can’t beat the smell and flavor of a tomato that has been able to fully ripen on the vine. Even if you go to the grocery store or farmers market, the smell of fresh tomatoes wafts through the air. That is the smell of summer!

The other day I was looking at a pile of 10–12 tomatoes on the counter that needed to be eaten within the day and I knew just what to do with them. Marinade them! The marinade for this recipe is out of this world! The red wine vinegar really brings out the flavors of the tomatoes and then you get all these great flavors from the fresh herbs and garlic. I mean seriously, just look at that layer of herbs over the top of the tomatoes!

Summertime Marinated Tomatoes

These make for a great side dish with some grilled meat or even as a salad. I served it with some garlic bread and it was so good to soak up all those yummy tomato juices, olive oil, and vinegar with the bread. This recipe is for sure a summertime staple as it is so easy to make and I am all about cooking with what is in season.

Notes:

  • The key to this recipe is making sure to marinade the tomatoes at room temperature for at the very least 2 hours. You MUST let them marinade! The tomatoes need time to soak up all the red wine and herb flavors.
  • Do not refrigerate as the texture and natural flavor of the tomatoes will change.
  • Consume within 6–8 hours of marinating.
  • If you want to prepare in advance, just make the marinade ahead of time and store in a jar in your refrigerator until 3 hours before you plan to serve. Then pour the chilled marinade over the tomatoes.

INGREDIENTS
5 or 6 extra-large tomatoes, cut into 1/2″ slices
2/3 c extra-virgin olive oil
1/2 c red wine vinegar
4 tbsp red onion, minced
2 tbsp garlic, minced
2 tbsp parsley, chopped
2 tbsp basil, chopped
2 tsp kosher salt
1/2 tsp black pepper

STEPS

  • Arrange the sliced tomatoes in a shallow serving dish.
  • Combine all the remaining ingredients and mix to combine.
  • Pour the marinade over the tomatoes.
  • Cover the dish with a lid or saran wrap.
  • Allow the tomatoes to rest/marinade at room temperature for 2–3 hours.
  • Enjoy!
Side Dishes

Recipe—Mushroom Garlic Couscous

Recipe—Mushroom Garlic Couscous

We are a family who is always on the go and frequently need a quick and easy side dish. If I am having the hubby throw some steaks on the grill there are times I want a side dish that is quicker than a baked potato and easier than mashed potatoes. This mushroom garlic couscous is so easy to make and takes 15 minutes max. I know plenty of folks that get tired with the same ol’ side dish and this one is a great addition to any meal, just add a cooked protein! Plus couscous seems fancy. 😉

Recipe—Mushroom Garlic Couscous

Notes: You can make this with any couscous. The recipe is written using the measurements of a 5.8 oz box of Near East couscous which is my favorite. (This is not a sponsored post or ad.) Keep in mind if you use a different brand that the amount of chicken broth and olive oil required may vary. Adjust accordingly. You can also make this recipe with brown rice or quinoa for an equally delicious side dish. Just prepare the preferred grain per the package instructions using chicken broth, and stir in the sautéed mushrooms and parsley when done cooking.

INGREDIENTS
1 tbsp butter
2 c cremini mushrooms, sliced
1 tbsp garlic, minced
2 c chicken broth
1 tbsp olive oil
5.8 oz box of couscous (I love Near East)
2 tbsp parsley, chopped
salt and pepper

STEPS

  • In a medium skillet melt the butter over medium high heat.
  • Add the mushrooms to the skillet and cook for 8–10 minutes, stirring frequently.
  • Add the garlic to the skillet and continue cooking for another 2 minutes.
  • Season the mushrooms with salt and pepper. When done, remove from heat.
  • While the mushrooms are cooking, in a medium saucepan, bring the chicken broth and olive oil to a boil.
  • Once boiling, stir the couscous into the saucepan, remove from heat, and cover.
  • Allow the couscous to sit covered for 5 minutes.
  • Fluff the couscous using a fork.
  • Stir in the cooked mushrooms and parsley.
  • Serve and enjoy!
Appetizers, Side Dishes

Recipe—Fiery Edamame

divadicucina_fieryedamame

You know how you have some food items that you literally just cannot get enough of? Like, you would eat every bit of it if you weren’t sharing and then when it is all gone you are using your fingers to get every last drop out of the bottom of the dish. That is me with this Creamy & Spicy Garlic Edamame. I literally would lick the bowl clean like a 5-year-old does with their ice cream bowl if I could get my tongue to the bottom of it. Too graphic? Sorry! The sauce is just so freaking good! It has just the right amount of heat that you feel a little burn but the creaminess of the sauce helps to tame it and you just keep going back for more.

I have been making this recipe a lot lately. It is a quick (I am talking less than 10 minutes start to finish) and easy side dish that goes great when I am making a stir fry or big batch of ramen but it also makes an awesome snack. Edamame is high in protein and fiber and is rich in vitamins and minerals, plus it is just fun to eat. It is probably a good thing that they have a shell because that is the only thing that slows me down when I have a bowl of these in front of me. 😉

INGREDIENTS
14 oz bag of frozen edamame in pods
1 tbsp garlic, minced
1 tsp sesame oil
2 tbsp chili paste (Sambal Oelek is my go to)
1/4 mayonnaise
1 tbsp soy sauce
sea salt
sesame seeds

STEPS

  • Prepare the edamame per the package instructions, drain, and transfer to a large bowl.
  • In a small bowl whisk together the garlic, sesame oil, chili paste, mayonnaise, and soy sauce.
  • Pour the sauce over the edamame and toss to coat.
  • Transfer to a serving dish a sprinkle with a little sea salt and sesame seeds.
Salads, Side Dishes

Recipe—Mexican Street Corn Salad


Recipe—Mexican Street Corn Salad

I made this salad last month for a final end of summer hoorah BBQ and let me just tell you, it was delish! The olive oil mixed with vinegar and lime juice creates a zesty vinaigrette dressing and just pairs so nicely with the sweetness of the corn and the saltiness of the quest fresco and then don’t forget the smoky flavor from the paprika. It hits all those flavor points your mouth desires.

This recipe goes great with grilled meats or any Mexican dish. Tacos, enchiladas, you name it. It is cheap, easy, and so quick to make. Like really quick. This recipe literally took me 5 minutes from start to finish.

Note: You can make this with fresh corn on the cob or canned. It is great both ways. If you are using fresh corn you will need about 6-8 cobs of corn. Cook them as you normally would, whether that be on the grill or in a pot of water. Then allow the cobs to cool completely and cut the kernels off the cob and prepare the salad as directed. 

INGREDIENTS

3 (15.25 oz) cans whole kernel corn, drained
1 c cherry tomatoes, cut in half
1/2 c green onions, chopped
2 tbsp vinegar
2 tbsp olive oil
2 tbsp lime juice
1/2 c queso fresco, crumbled
paprika

STEPS

  • Place the corn kernels, tomatoes, and green onions into a serving bowl.
  • In a small bowl, whisk together the vinegar, olive oil, and lime juice.
  • Pour the dressing over the corn and stir to coat.
  • Top with the queso fresco and a sprinkling of paprika.
Salads, Side Dishes

8 Must Try Summer Salads

8 Must Try Summer Salads

Summer is the season of BBQs and potlucks and that means delicious side salads are a must! I have compiled my eight favorite salad recipes from my blog including pasta, potato, and even some veggie-based ones. I could eat these for lunch or dinner all summer long. All of these salads will be having your friends and family coming back for seconds!

Asparagus and Feta Salad

Asparagus and Feta Salad
Grilled asparagus tossed in a lemon olive oil dressing and topped with feta cheese.


Italian Pasta Salad

Italian Pasta Salad
Rotini noodles and lots of veggies tossed in Italian dressing.


Classic Macaroni Salad

Classic Macaroni Salad
A summer classic! Macaroni noodles and crunchy veggies tossed in a creamy dressing.


Broccoli Salad

Broccoli Salad
This broccoli salad is the perfect balance of crunchy and creamy, and sweet and salty. Broccoli tossed with bacon, craisins, and sunflower seeds.


Crunchy Pea Salad

Crunchy Pea Salad
Peas tossed in a creamy dressing with bacon, craisins, and peanuts.


Orzo Pesto Pasta

Orzo Pesto Pasta
One of my all time favorites! Cooked orzo pasta tossed with pesto, cooked zucchini, cherry tomatoes, and feta.


Potato Salad

Potato Salad
This potato salad has the perfect amount of creaminess and best of all BACON! Sort of like a loaded baked potato but in a salad.


Crunchy Apple Bacon Coleslaw

Crunchy Apple Bacon Coleslaw
Sweet + Salty+Tangy + Crunchy = Delicious and Unique Coleslaw

Dinners, Side Dishes

Recipe—Jalapeño Popper Mac N’ Cheese

Jalapeño Popper Mac N’ Cheese

My name is Rebecca and I am a cheesy jalapeñoholic. I will literally devour anything with cheese and jalapeños. I HAVE NO SELF CONTROL!

If it has popper in the name, I am game. Mac n’ Cheese with a crispy top is involved. No holding me back. I will literally fall off of any diet wagon for some good mac n’ cheese. That is a universal thing, right? Like, that goes for everyone?

Come on, you start with a creamy white sauce base, add in gobs of pepper jack cheese until it is thick, and creamy, and cheesy, and then add in cooked pasta. It could be perfect as is, but no. It gets better. You add a buttery panko topping that once crisp will replicate that of the exterior of deep-fried jalapeño popper. And then the sliced jalapeños on the top is literally the icing on the cake. SO. DAMN. GOOD!

This recipe goes fantastic with any sort of grilled meat but is totally sufficient as a standalone dish. What says comfort food more than a big ol’ bowl of spiced up mac n’ cheese? Nothing. Absolutely nothing people.

Note: If you do not have an oven safe skillet you can make this in whatever large skillet you have, and then transfer the noodles and cheese sauce to a baking dish before topping with the panko and sliced peppers. 

MACARONI INGREDIENTS
8 oz macaroni pasta, uncooked
3 tbsp butter
3 tbsp flour
3 c milk
3 c pepperjack cheese, crated
salt and pepper
1/2 tsp crushed red peppers

TOPPING INGREDIENTS
3 tbsp butter, melted
1/2 c panko
1/4 c jalapeño slices

STEPS

  • Preheat the oven to 400º.
  • Cook the pasta per the package instructions.
  • Drain and allow to sit.
  • Melt the butter in a large oven safe skillet over medium-high heat.
  • Whisk in the flour and cook it for about a minute while stirring continuously until it starts to lightly brown and is well combined.
  • Gradually whisk in the milk, about 1/2 cup at a time, making sure it is nice and creamy and starts to thicken after each addition. Continue this until the milk is finished.
  • Bring the mixture to a simmer and then reduce heat to low.
  • Whisk in the cheese, salt, pepper, and crushed red peppers and stir until it is all melted and creamy.
  • Add in the cooked pasta making sure all the noodles are evenly coated and remove skillet from heat.
  • Now for the topping!
  • In a small bowl mix together the melted butter and panko.
  • Evenly distribute the topping over the mac n’ cheese.
  • Top with sliced jalapeños.
  • Bake for 8–10 minutes or until the panko starts to turn a nice golden brown and the sauce is simmering around the edges.
  • Allow to rest for about 5 minutes.
  • Serve and enjoy!
Side Dishes

Recipe—Italian Cheese Rolls

Sometimes you just need to spruce up the ordinary with a little pizzazz. While there is nothing wrong with plain garlic bread or even simple dinner rolls but sometimes it is fun to take those sides dishes to the next level. I have seen these cheese filled Pillsbury rolls popping up all over Pinterest and decided to come up with some yummy rolls of my own. I went with an Italian version to go with all the pasta dishes I make, a great substitute for the traditional garlic bread.

INGREDIENTS
1 container of Pillsbury Grands Flaky Biscuits
block of mozzarella, cut into eight 1.5” x 1.5” cubes
1/4 c butter, melted
1/2 tsp garlic, minced
1/4 c Parmesan cheese, grated
1 tsp Italian seasoning mix
salt

STEPS

  • Preheat oven to 350º.
  • Open the tube of rolls and flatten each one using the palms of your hands.
  • Position a cheese cube in the center of each flattened roll and wrap the edges of the roll up around the cheese cube making sure they are sealed up tight.
  • Place seam side down on a parchment paper lined baking sheet.
  • Repeat until all the rolls have been assembled.
  • Mix together the melted butter and garlic.
  • Brush each roll with the garlic butter.
  • Sprinkle all the rolls with the Parmesan cheese, Italian seasoning, and a little salt.
  • Bake the rolls for 16–18 minutes or until they are golden on top.
  • Let the rolls cool for about 3 minutes before serving. That cheesy filling can be nuclear.