Beverages, Kitchen Tips, Sweet Treats

How to Build an Epic Hot Cocoa Charcuterie Board or Box

Hot cocoa charcuterie boards are taking off in popularity and there is no better time than the holiday season to try and make your own. Whether you want to make it for just your family to enjoy around the fireplace, a large party, or even for gifting, it is a sure way to spread some holiday cheer.

While a charcuterie board traditionally refers to an assortment of meats, cheeses, and breads served as an appetizer, the term has become much broader and people are getting creative with how they bring foods together. While I never pass up traditional meat and cheese charcuterie to go with a bottle of wine, hot cocoa charcuterie has become one of my favorite Christmas traditions in our home. 
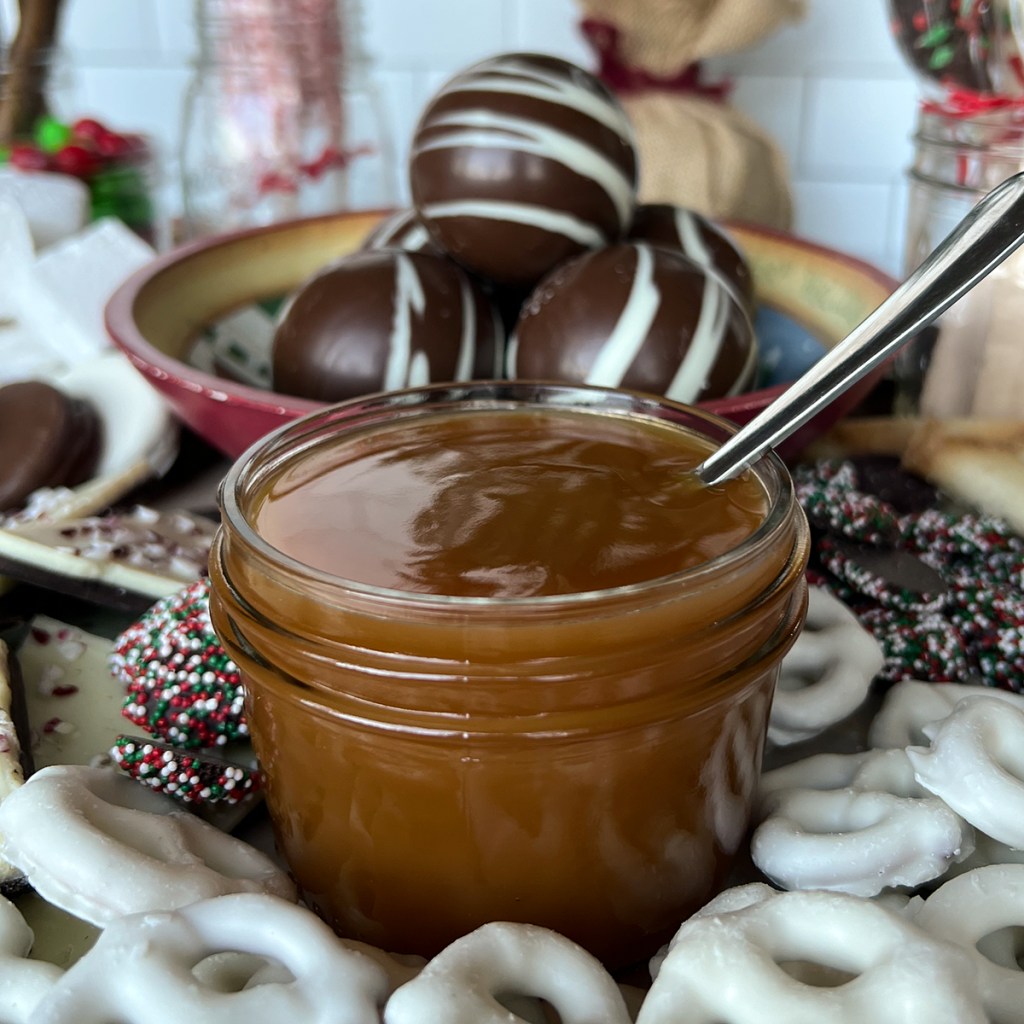
On the day we plan to decorate our Christmas tree and put out all our decorations, I lay out a spread of sweets to snack on and every ingredient my son could dream of to make a big ol’ mug of fully loaded hot cocoa. Do I go overboard? Absolutely. But it makes creating a cup of hot cocoa so much more fun and we love grazing on it throughout the day.

Last year we decided to share that holiday magic and made hot cocoa charcuterie boxes for our friends and delivered them to their doorsteps along with a box of assorted fresh baked cookies. The kids seriously love it! Pair a homemade box with some fun holiday mugs for the cutest gift set ever!
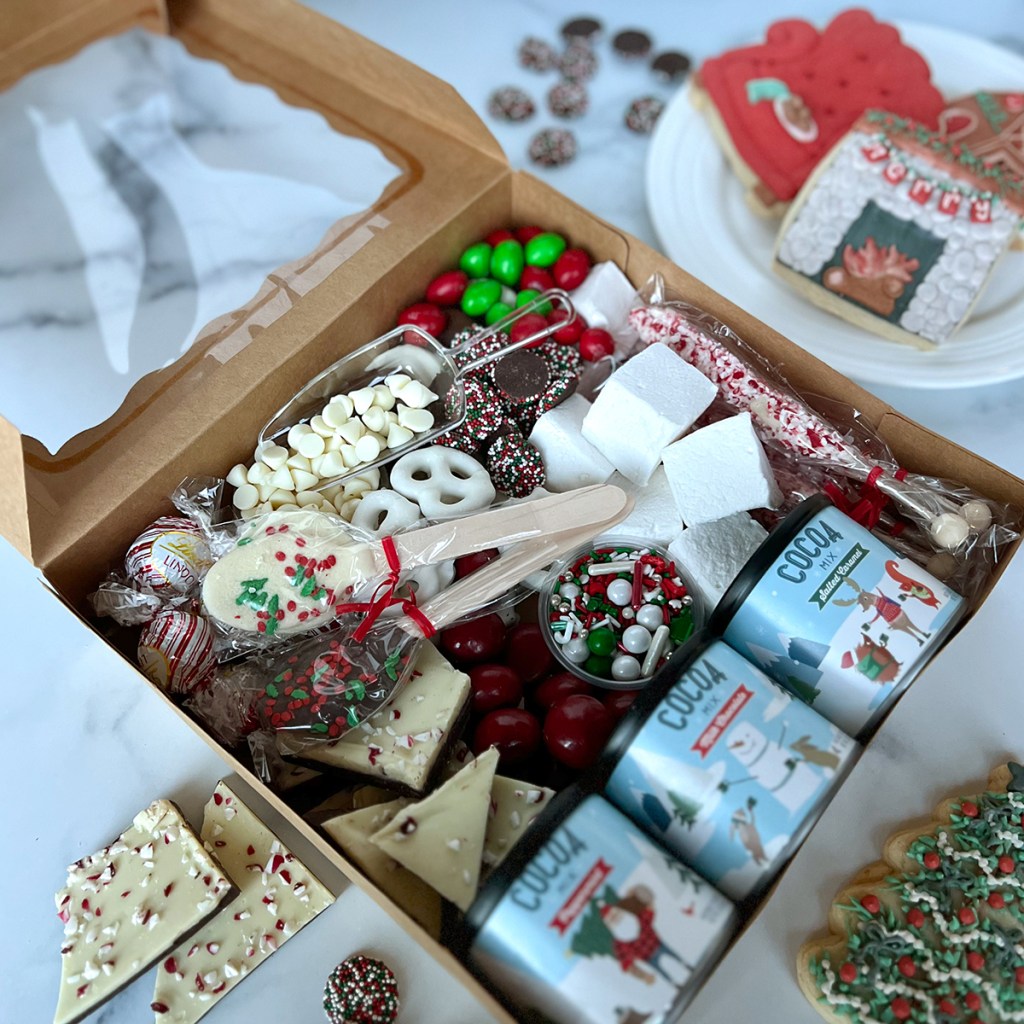
As a special touch I also like to purchase some gorgeously decorated sugar cookies from local bakers. They can include a special saying or message like “Merry Christmas.” They become sort of like an edible card.

There really is no right or wrong way to build a hot cocoa charcuterie board or box, it is about bringing together an assortment of ingredients and letting people use their imagination topping, drizzling, dipping, and sipping. 

Of course, there are always the obvious choices or marshmallows, whipped cream, and sprinkles, but don’t let the fun stop there. You can fill your board with peppermint bark, caramel sauce, and then make sure to include some tasty treats for dipping too! And don’t for one second think this is just for the kids! Add some holiday spirits for the adults. Nothing like spiking your hot cocoa with some Irish cream or peppermint schnapps. 
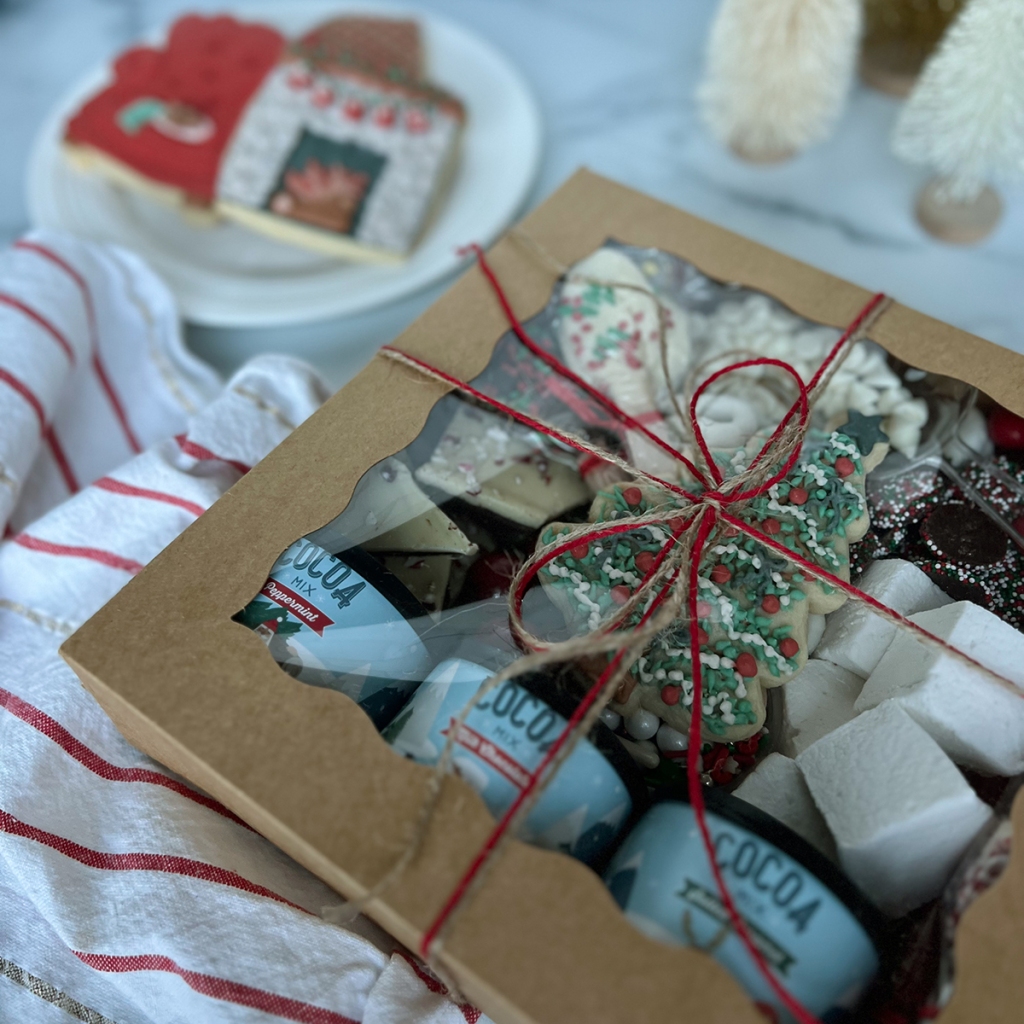
I hope this has inspired you to create your own hot cocoa board or box this holiday season and beyond. And just keep in mind, the number one rule for building a board or box is, there are no rules! Just have fun with it.

How to Build Your Board or Box

Step 1
The first step is selecting your board or box. My best advice is to make sure it is big enough for all your goodies. The bigger the better but just make sure you have enough to fill it so there aren’t any bare spots. 

If you are creating this for a really large group, you could always just line your counter or table with butcher paper or parchment paper and make it a grazing experience.

Step 2
Place your most important ingredient of all, your hot cocoa bombs or container of mix in a corner.

If you want to have your hot cocoa prepared ahead of time, skip this step. When having a party, I like to make my homemade hot cocoa in a crock-pot so it is ready to go. The guests can just ladle it into their mugs. 

Step 3
Place small bowls or containers for sprinkles, chocolate chips, smaller candies, and syrups around the board. If making a gift box, plastic sauce cups with lids work great!

Place longer items, like pirouette cookies, candy canes, and candy coated stir sticks in cups or mason jars to add some height to the board.

Step 4
Arrange cookies in clusters around the board or box.

Step 5
Fill in remaining gaps with candies, marshmallows, and chocolates. You want the board to look full so don’t be shy, add lots and don’t worry about layering things up! 

Step 6
Add some small scoopers and/or tongs in addition to some sort of stir sticks. I love including chocolate dipped spoons and the wood stir sticks coated in crushed peppermints but it could be as simple as some wood stir sticks or spoons.

Fun Toppings and Extra Treats

  • Marshmallows (assorted sizes)
  • Candy canes
  • Festive sprinkles
  • Toffee bits
  • Semi-sweet chocolate chips 
  • White chocolate chips
  • Pirouette cookies 
  • Chocolate coated pretzels
  • Assorted cookies
  • Chocolate coated Oreos
  • Assorted chocolates and candies
  • Caramels         
  • Caramel sauce
  • Chocolate sauce
  • Chocolate truffles 
  • Peppermint bark
  • Chocolate covered spoons
  • Adult mix ins (peppermint or butterscotch schnapps, amaretto, Irish cream, Irish whiskey, etc.)

If you like this, then make sure to also check out my recipes for Homemade Marshmallows or Creamy Hot Cocoa in a Crock-Pot!

A huge thank you to Sugar Sweetery for providing the sugar cookies for this article. Check them out on IG @sugar_sweetery

Sweet Treats

Recipe—Chocolate Crackle Cookies

A long time ago in a land far far away, I posted a recipe for Lemon Crackle Cookies. (Okay, it wasn’t that long ago nor that far away.) They were awesome! Perhaps the name Chocolate Crack Cookies would be more appropriate for this recipe since you will not be able to stop eating them! Since the base for my crackle cookies is a box of cake mix they are perfectly fluffy, super moist, ultra fudgy, and easier to make than any cookie should be. This recipe is very straightforward and easy. Anyone can make them. Really. I promise! While they may look complicated all you are doing is rolling the dough into balls, coating them generously with powdered sugar, and then baking them. They do all the fancy crackling while baking. Give them a try. Everyone you share with will be very pleased you did.

INGREDIENTS

2 (18.25 oz) boxes Duncan Hines chocolate cake mix
4 eggs
2/3 c vegetable oil
1 1/2 c powdered sugar

STEPS

  • Preheat oven to 375º.
  • In a large bowl mix together dry cake mix, eggs, and oil.
  • Put the powdered sugar in a shallow bowl or plate.
  • Form small balls with the dough and then roll them in the powdered sugar. Be sure the cookies have a really thick coating of the sugar if you want them to have that crackle look.
  • Place at least 2 inches apart on a parchment paper lined baking sheet.
  • Bake for 7–9 minutes or until golden brown on the bottom.
  • Allow cookies to sit on the baking sheet for a couple of minutes before transferring to a cutting board or cooling rack.
Brunch

Recipe—Blueberry French Toast Casserole

I run a household that always seems to be full of friends and family who come to visit on the weekends. I absolutely love entertaining and cooking delicious meals for my visitors. What I don’t love is when I’m in the kitchen for hours on end. It means I am missing out on valuable time with them. This is a breakfast dish that is perfect for when you are entertaining, or heck, even if you just want an easy breakfast in the morning for the family. You prepare this in advance before your company even arrives, and then just pull it out and pop it in the oven in the morning. And by make it in advance is that you literally take the ingredients, plop them in a dish (in an orderly fashion of course) and refrigerate. How much more easy could it get? Easy to prep and easy to bake. That is my kind of breakfast!

INGREDIENTS
12 slices French toast bread, cut into 1” cubes
16 oz (2-8 oz blocks) cream cheese, cut into cubes
2 c blueberries
12 eggs
2 c milk
1/2 c syrup
1 tsp vanilla

STEPS

  • Grease a 9” x 13” baking dish.
  • Spread half of the bread cubes into the bottom of the baking dish.
  • Sprinkle about three quarters of the cream cheese cubes over the bread.
  • Sprinkle about three quarters of the blueberries into the dish.
  • Top with remaining bread, cream cheese, and blueberries.
  • In a large bowl, whisk together eggs, milk, syrup, and vanilla.
  • Pour the egg mixture over the entire dish.
  • Using your fingers or the back of a spatula gently press all of the bread pieces down into the egg mixture.
  • Cover the baking dish with foil and place in the fridge 8 hours or overnight.
  • When ready to bake remove the dish from the fridge and allow it to sit on the counter for about 30 minutes.
  • Preheat oven to 350º.
  • Keep the dish covered in foil and bake for 45 minutes.
  • Remove the foil and continue baking until the top is s nice golden brown and the egg mixture is set, about an additional 20–30 minutes.
  • Remove from oven and allow it to cool for 5 minutes.
  • Cut and serve.
Sweet Treats

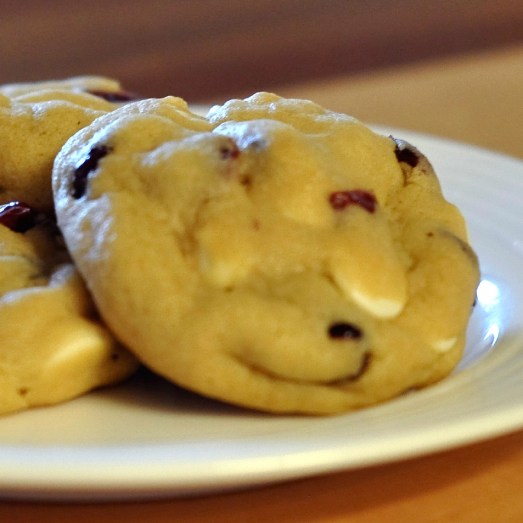
Recipes—Craisin White Chocolate Chip Pudding Cookies

The first time I made these cookies was actually around the holidays. They turned out delicious! So good that I even included them in my annual holiday goodie boxes. While cranberries and white chocolate are perfect for the holiday season, I think they are equally perfect for any time of year. Cranberry and white chocolate is such an awesome flavor combo, why only enjoy during the winter months? Pudding cookies are great because they turn out super moist and are some of the softest cookies you will ever have! The pudding really helps to hold them all together so you end up with perfect little mounds of deliciousness!

INGREDIENTS
2 1/4 c flour
1 tsp baking soda
3/4 c butter, softened
3/4 c brown sugar
1/4 c sugar
3.4 oz vanilla instant pudding mix (dry, do not prepare)
2 eggs
1 tsp vanilla
3/4 c craisins
3/4 c white chocolate chips

STEPS

  • Preheat oven to 350º.
  • In a medium mixing bowl stir together flour and baking soda. Set aside.
  • In a separate bowl, mix together the butter and sugars.
  • Add in dry pudding mix and beat until well blended.
  • Add eggs and vanilla and mix well.
  • Slowly incorporate flour mixture until well combined.
  • Mix in craisins and white chocolate chips.
  • Roll the cookie dough into 1² balls and place on a greased baking sheet.
  • Bake cookies for 8­12 minutes or until just turning golden on the edges.

Recipe adapted from Chef in Training. 

Sweet Treats

Recipe—Chocolate Covered Peanut Butter Truffles

This recipe is definitely an oldie and a goodie. The first time I made these was over 20 years ago when I was a Brownie. We made little boxes of these for our moms for Mother’s Day. (My mom was our troop leader so this is actually her recipe.) These are great for any occasion as individual truffles but you can also have fun with various shapes. Occasionally on Easter, my mom would make us homemade peanut butter eggs. I actually did that this Easter for my son’s teachers.

These are super easy to make and they blow Reese’s out of the water! Come on, you know anything with peanut butter and chocolate is going to be delicious. It is a fun and easy recipe to make, so get the kids involved. What kid doesn’t like to get in the kitchen and use their hands? I hope you and your family love these as much as mine.

Note: Finished truffles should be stored in the refrigerator or freezer. My hubby thinks they are best when frozen.

INGREDIENTS

1 1/2 c creamy peanut butter
4 tbsp butter, softened and divided
3 tbsp light corn syrup
1 tsp vanilla
4 tbsp heavy whipping cream
1 lb powdered sugar
24 oz bag of semi sweet chocolate chips

STEPS


  • In a large mixing bowl beat together the peanut butter, 2 tablespoons of the butter, corn syrup, vanilla, and whipping cream until well incorporated.
  • Add the powdered sugar to the bowl, and using your hands mix until everything is completely incorporated.
  • Pinch off bite size pieces and roll into balls. As you finish the balls place them on a wax paper lined baking sheet.
  • Place the baking sheet in the freezer for at least 30 minutes.
  • Once the balls are frozen, in a medium microwave safe bowl combine the chocolate chips, the remaining 2 tablespoons of butter, and 2 tbsp of water.
  • Microwave the chocolate for 1 minute.
  • Remove the chocolate from the microwave and beat with a fork. If there are still chunks, continue microwaving and stirring in 30 second increments.
  • Once your chocolate is smooth allow it to sit on the counter for a minute.
  • Dip each frozen ball into the melted chocolate and turn until evenly coated and place back on the wax paper covered baking sheet. (I find using a fork works great to remove the balls from the melted wafers so that the extra chocolate can drip off between the prongs.)
  • Once you have finished dipping all the balls place the baking sheet back in the freezer so that the chocolate can set.
  • Enjoy!

Snacks

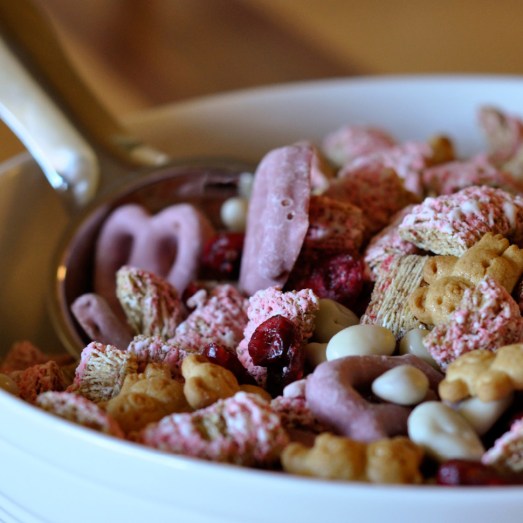
Recipe—Valentine’s Day Snack Mix

If you are on Pinterest then you have probably seen one form or another of “Puppy Chow” snack mixes. (Basically a super sweet treat made from chocolate covered Chex cereal and tossed with other tasty goods.) These snack mixes are popping up everywhere! I saw one the other day for Valentine’s Day that looked super cute. I liked the idea of doing something like this for my son and all his little classmates at school but thought his teacher’s may not appreciate it if I get a classroom full of 2 and 3 year olds all hopped up on sugar. I decided to create this lower sugar version snack mix that is great for people of all ages. Have fun mixing any and all of your favorite bite size snacks!

Note: This recipe makes enough to fill 24–26 snack size Ziploc bags or 1 large bowl.

Here are my final goodie bags. I made some cute tags that I folded in half and stapled over the top.

INGREDIENTS
15.5 oz box Strawberry Frosted Mini Wheats
10 oz box Honey Teddy Grahams
2 c yogurt covered raisins
2 c raspberry yogurt covered pretzels
1 1/2 c dried cranberries
1.25 oz yo’ drops crunchable yogurt

STEPS

  • Combine all ingredients and one large bowl and use a large serving spoon or scoop to mix together gently.
  • Divide mix into snack size bags or serve in one large bowl.
  • Enjoy!

Happy Valentine’s Day!

Side Dishes

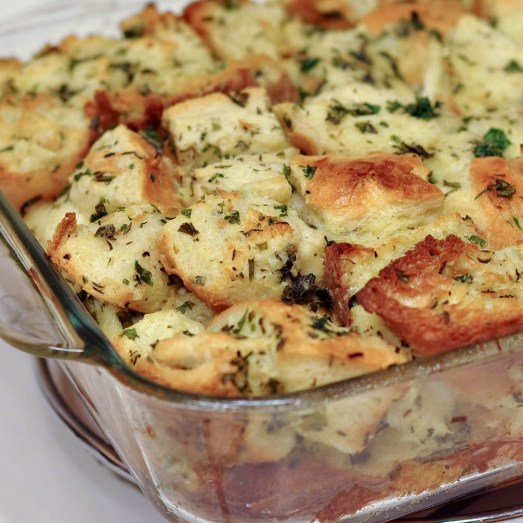
Recipe—Savory Herb Bread Pudding

A couple months back my family and I went to Disneyland for a few days. During our stay at the Hilton we ended up ordering room service for dinner because we were just too pooped from all the fun to actually go out. One of those nights I ordered roasted chicken, which came with a savory bread pudding. The bread pudding was phenomenal! So phenomenal, that I ordered the same dish a second time during our visit. Yes, it was that good! The bread pudding was flavor packed and went perfectly with the chicken. This last weekend I tried to replicate the recipe to go with my roasted turkey because I didn’t want to do the same old stuffing I had just had a couple of weeks prior at Thanksgiving. I think it turned out fantastic! One thing I love about this recipe is that it is super easy, can be made in advance, and goes with any type of meat! This Christmas I will be making this bread pudding along with my prime rib. Whether you are cooking a ham, turkey, or a fine cut of beef at Christmas this will be the perfect side dish that will have everyone talking. It is a perfect substitute for those plain dinner rolls or even mashed potatoes.

Note: The bread pudding can be assembled up to a day in advance and stored in the refrigerator. Remove baking dish from fridge at least one hour before baking and bring to room temperature. If you have a smaller group of people this recipe is easy to halve. Just use an 8″ x 8″ baking dish.

INGREDIENTS
2 large sourdough rounds, cut into 1” cubes
1/2 c fresh parsley, chopped
1/4 c fresh sage, chopped
2 tbsp fresh thyme, chopped
salt and pepper
6 tbsp butter
2 tbsp garlic, minced
1/3 c chives, chopped
8 eggs
2 c chicken broth
2 c heavy cream

STEPS

  • Preheat oven to 325º.
  • In a large bowl combine the bread, parsley, sage, thyme, salt and pepper.
  • In a small skillet melt the butter over medium-high heat and add the garlic cooking until tender. Do not burn the garlic!
  • Add the chives to the skillet and cook for 3 minutes.
  • Drizzle the melted butter over the bread and toss to coat.
  • In a medium mixing bowl whisk together the eggs, broth, and heavy cream.
  • Pour the liquid mixture over the bread and stir until evenly coated.
  • Transfer the bread mixture to a greased 9” x 13” baking dish.
  • Gently press the soaked bread into the pan.
  • Bake for 50–60 minutes or until center is set.
  • Tent dish with foil until ready to serve.
  • Slice into squares and enjoy!
Sweet Treats

Recipe—Confetti Cake Batter Cookies

Awhile back I posted a recipe for lemon crackle cookies. It was a cookie recipe that is primarily made from a box of cake mix. I love the concept of taking cake batter and sprucing it up with a few extra ingredients to make one heck of a fabulous cookie These types of cookies always come out really light and super moist and best of all they are quick and easy to make. Well ‘tis the season for complete chaos and busy schedules so what better time to share a recipe for super quick and scrumptious confetti cake batter cookies. I used red and green sprinkles to make them festive for Christmas but keep this recipe in mind throughout the year. Just change the sprinkle color for the appropriate holiday. Perhaps pink and red for Valentine’s Day?

INGREDIENTS
1-18.25 oz box of white cake mix
1 tsp baking powder
2 eggs
1/3 c vegetable oil
1/2 tsp vanilla
1/2–3/4 c sprinkles

STEPS

  • Preheat oven to 350º.
  • In a large bowl mix together the dry cake mix and baking powder.
  • Whisk together the eggs, oil, and vanilla.
  • Add the egg mixture to the cake mixture and stir until all ingredients are combined.
  • Fold in the sprinkles but be sure not to over mix or the dye will stain the batter.
  • Line a large baking sheet with parchment paper or grease it.
  • Drop 1” balls of dough onto the baking sheet leaving approximately 2” apart.
  • Bakes cookies for 9–10 minutes making sure they don’t brown.
  • Allow the cookies to cool on the sheet for about 3 minutes.
  • Use a spatula to transfer the cookies to a cutting board or cooling rack.