Side Dishes

Recipe—Zucchini and Tomato Gratin

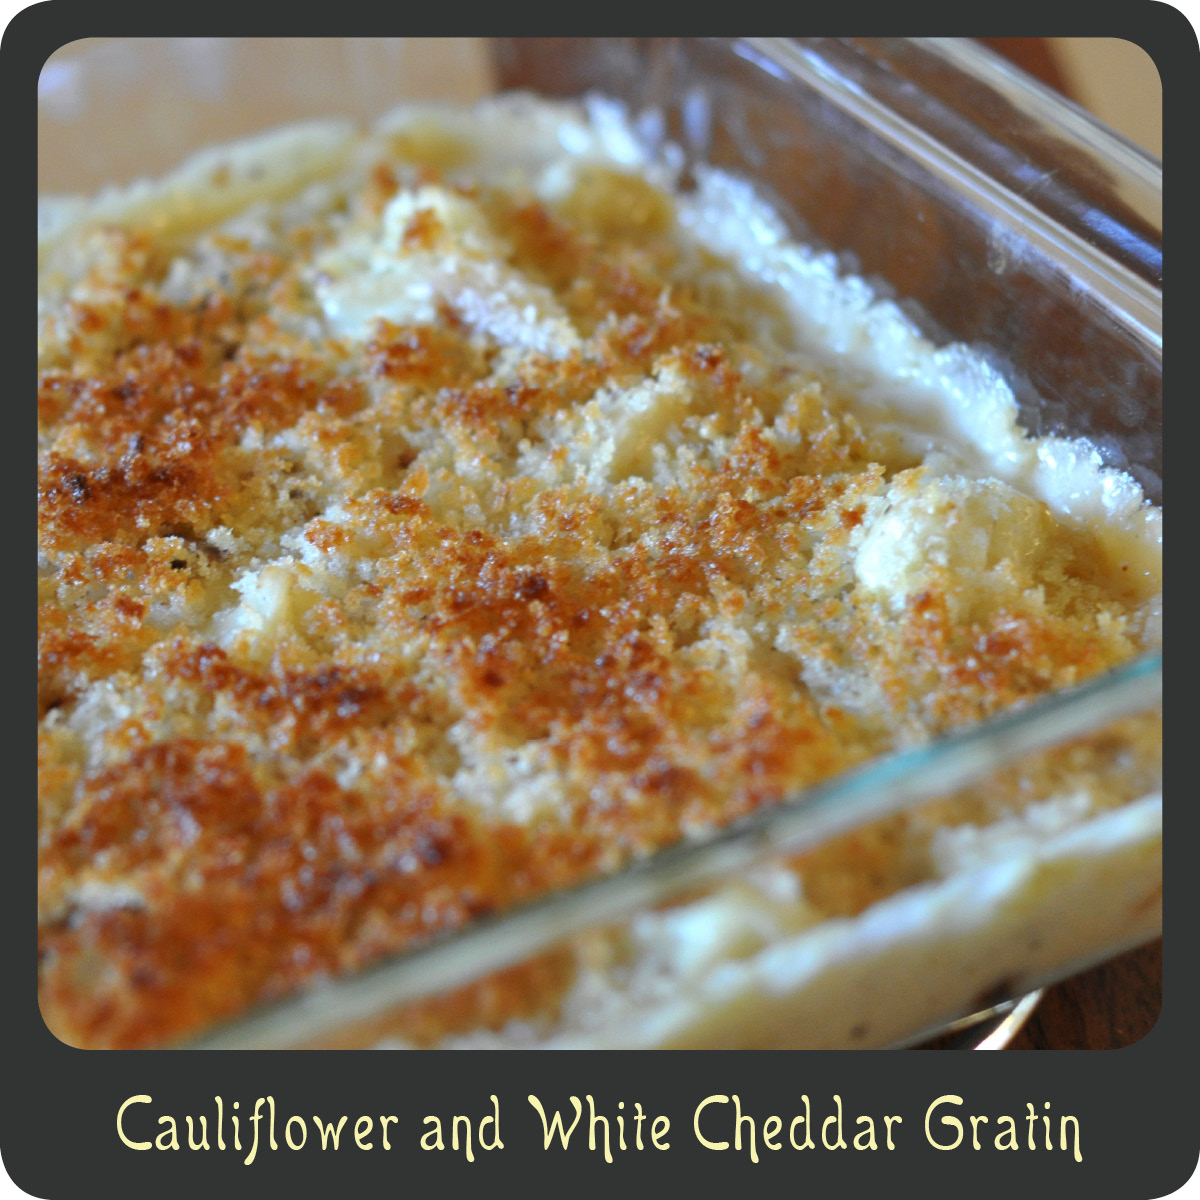
Out of all of the seasons, I love the summer most. Not just because of my lazy poolside days, baseball games, refreshing beverages, or little summer dresses, but because of the abundance and variety of incredible produce. It is something that people in California take for granted. Every year we grow a couple of cherry tomatoes plants in out backyard. My son can hardly wait for them to ripen and as soon as they do he eats them right off of the plant. Sweet, warm, vine ripened tomatoes. Yummmmmm…there is nothing like them. We seem to have a bowl full on our counter all summer long. The other veggie we seem to never get enough of during the summer is zucchini. Zucchini and tomatoes are a wonderful pair, and when you add in some quality parmesan cheese and fresh basil, delish! When I first tried this recipe for zucchini and tomato gratin I knew it was a recipe I would be making all summer long. Serve it up on it’s own with some pasta or as a side with your favorite protein, either way it is a perfect summertime dish.

INGREDIENTS
sweet Vidalia onion, thinly sliced
olive oil
3 medium zucchini, sliced
1 leek, sliced and thoroughly washed
2 tsp garlic, minced
1 c parmesan cheese
1 1/2 c Italian bread crumbs
1 1/2 c cherry tomatoes
2 tbsp fresh basil, chopped

STEPS

  • Preheat oven to 425º.
  • Drizzle a little olive oil in the bottom of large cast iron skillet.
  • Separate the onions rings, place them in the bottom of the skillet, and drizzle with a little olive oil.
  • Add half of the sliced zucchini, half of the leeks, and all of the garlic to the pan.
  • Sprinkle with a 1/2 cup of the parmesan cheese and a 3/4 cup of the breadcrumbs.
  • Drizzle with additional olive oil.
  • Add the remaining zucchini, remaining leeks, and all of the cherry tomatoes to the pan and drizzle with more olive oil.
  • Sprinkle with the remaining 1/2 cup of the parmesan cheese and a 3/4 cup of the breadcrumbs.
  • Drizzle with a tad more olive oil.
  • Bake entire pan in the oven for 25–30 minutes.
  • Turn on the broiler and finish the dish off under the broiler for 2–3 minutes or until it is golden brown on top.
  • Garnish with fresh basil.

Recipe adapted from Proud Italian Cook.

Dinners

Recipe—Summertime Rosemary Lemon Chicken with Veggies

This is one of those fabulous recipes you will want to make all summer long. Here are the reasons why I think you will love this recipe:

  1. It’s an entire dinner done in one skillet (easy cleanup)
  2. It takes under 25 minutes to make
  3. It’s incredibly healthy (low cal and low carb)
  4. It utilizes fresh summer veggies
  5. It tastes and looks fabulous!

Do you really need more reasons than that to give this recipe a try?

INGREDIENTS
2 large or 4 small, boneless skinless chicken breasts
kosher salt and black pepper
3 tsp garlic, minced
2 tbsp fresh rosemary, chopped and divided
1 tbsp olive oil
2 yellow squash or zucchini, sliced
3 carrots, peeled and sliced
2 c green beans, cut in half
2 lemons
1/4 c white wine

STEPS

  • Preheat a large skillet over medium high heat.
  • In a small bowl combine 1 teaspoon of kosher salt, 1 teaspoon of black pepper, garlic, and 1 tablespoon of the rosemary.
  • Season both sides of the chicken breasts with the seasoning mix.
  • Drizzle the olive oil in the skillet and add the prepared chicken breasts.
  • Cook chicken on both sides until cooked through.
  • Add the squash, carrots, and green beans to the skillet.
  • Squeeze the juice of the two lemons into the skillet and add in the white wine.
  • Season the veggies with the remaining tablespoon of rosemary and some additional salt and pepper.
  • Place the chicken breast on top of the vegetables and bring to a boil.
  • Cover the pan and cook for 5 minutes or until the veggies are cooked to desired doneness.

Recipe adapted from The Slow Roasted Italian.

Side Dishes

Recipe—Cauliflower and White Cheddar Gratin

I was never much of a cauliflower fan growing up and now as an adult I just can’t get enough of the stuff. Sorry mom, but I think you were making it all wrong! The trick is to smoother it in cheese and all sorts of other wonderful flavors. I made this dish the other night and I’m embarrassed to admit that my husband, son, and I finished off the entire dish. All of it! Okay, so my son probably only ate it because I told him it was mac n’ cheese. Is that bad? Apparently we just couldn’t get enough of the creamy cheese sauce and crispy panko topping. We enjoyed this with some cooked greens and a juicy steak. It was delish! If you are having a hard time getting your kids (or even your spouses) to eat their cauliflower, give this recipe a try.  Maybe you’ve just been making it wrong. 😉

INGREDIENTS
1 large head cauliflower, cut into florets
2 tbsp olive oil
salt and pepper
4 tbsp butter, divided
3 tbsp flour
1 1/2 c milk
1/4 tsp ground nutmeg
1 c white cheddar cheese, shredded
1/2 c panko

STEPS

  • Preheat oven to 400º.
  • Place the cauliflower florets on a large baking sheet.
  • Drizzle with olive oil and season with salt and pepper.
  • Toss cauliflower to coat.
  • Roast the cauliflower until lightly browned, about 20–25 minutes.
  • Reduce the oven temperature to 350º.
  • In a large saucepan melt 3 tablespoons of the butter over medium heat.
  • Whisk in the flour and let it cook until it starts to turn a light golden color.
  • Whisk in the milk, nutmeg, cheese, and some salt and pepper.
  • Cook until the cheese is completely melted and the sauce thickens.
  • Add the roasted cauliflower to the cheese sauce and transfer to a square-baking dish (9” x 9” or 8” x 8” works great).
  • In a small microwave safe bowl melt the remaining tablespoon of butter.
  • Add the panko crumbs to the melted butter and stir to combine.
  • Sprinkle the buttered panko over the cheesy cauliflower.
  • Bake the gratin in the oven until it is bubbling and the panko is golden brown, about 15–20 minutes.
Side Dishes

Recipe—Italian Style Stuffed Artichokes

One of my best friends used to work in this cute little Italian deli that had numerous homemade Italian dishes. My three favorite things there was their gelato (which my friend kindly delivered to my door step while I was pregnant, becasue she’s awesome like that), eggplant parmesan, and their Italian stuffed artichokes. I LOVE their stuffed artichokes! They are a tad bit messy to eat but so delicious! When I eat artichokes I’m the type of gal that needs soemthing to dip the leaves in, whether it be mayonnaise, aioli, or garlic butter. However with these there is so much flavor in the bread crumbs that no dip is necessary. You just pull the bread crumbs off with the tender ends of the leaves.

INGREDIENTS
3 tbsp olive oil
1 tsp garlic
salt and pepper
1 c Italian breadcrumbs
1/4 c grated parmesan cheese
2 large artichokes
1/2 of a lemon

STEPS

  • Preheat oven to 425º.
  • Heat the olive oil in a medium skillet.
  • Add the garlic and sauté until fragrant.
  • Remove the skillet form heat and stir in breadcrumbs and parmesan cheese.
  • Season bread crumbs with salt and pepper.
  • Put a pot of water on to boil. (The amount of water you will need will depend on the size of your baking dish. You will need enough that the artichokes can sit in 1” of water.)
  • Prepare the artichokes by slicing off the stems and their tops and then pulling off the small outer leaves. (I trim about an inch off. This exposes the center leaves making it easier to remove them.)
  • Using a pair of kitchen shear trim the pointy tips off of the leaves.
  • Take the lemon half and rub it all over the artichokes. (This keeps the cut areas from turning an ugly brown color and gives it a nice little zest.)
  • Gently try to loosen up the dense center leaves by pressing them outward.
  • Pull out some of the thin center leaves if you are able to, creating a small well in the middle.
  • Stuff the prepared breadcrumbs in the center well and in between the large leaves.
  • Place the stuffed artichokes in a baking dish.
  • Once your water has come to a boil, carefully pour it into the baking dish so that the artichokes are sitting in 1” of water.
  • Cover the entire baking dish tightly with foil.
  • Bake in the over for 1 hour or until the leaves are cooked to desired tenderness.
Side Dishes

Recipe—Mexican Grilled Corn on the Cob

When planning out dinner menus I find it challenging to come up with Mexican side dishes beyond the typical beans and rice. And besides, when I am watching my carbs beans and rice just don’t work for me. I stumbled upon a recipe for Mexican grilled corn on Pinterest a few months back and have been meaning to try it. Boy am I happy I did! It was delicious! And by delicious I mean, the best corn on the cob I have ever eaten. While I normally just cover my ear of corn with butter and salt this was a welcomed change. The sour cream gave the corn a nice creaminess and the flavors of the smoky chili powder and zest of lime really fired up my taste buds. Sour cream has less than a third of the calories that butter does, so this corn not only tasted awesome, but it is also way healthy! Low calorie, low carb, and tastes amazing! Win, win, and win!

Note: If you want to try this recipe but don’t feel like firing up the grill, you can boil the corn. To boil corn, place the shucked corncobs in a large pot of boiling water and cover it. Cook for 4–6 minutes. Remove the corn from the water with tongs and continue seasoning by following the last 3 steps.

INGREDIENTS
4 ears of corn
1/2 c sour cream
chili powder
salt
pepper
4 lime wedges

STEPS

  • Cut of both ends of the corn so that the cob is exposed on one end and most of the stalk cut gone from the other, leaving the husk on.
  • Fill your sink or a large pot with water.
  • Soak the corn in the water for 15 minutes. (This allows some water to get inside so that the corn steams while on the hot grill, and also makes the husks wet so that they don’t catch fire.)
  • While the corn is soaking, preheat the grille to 350º.
  • Remove the corn from the water and shake off most of the moisture.
  • Cook the corn over direct heat for 15–20 minutes, making sure to turn every 5 minutes.
  • Remove the corn from the grille.
  • Carefully shuck the corn, remove all of the husks and corn silk. (I use an oven mitt to grasp one end to keep from burning my hands.)
  • Using your fingers or a butter knife spread a thin layer of sour cream all over the entire cob.
  • Sprinkle the corncob with the chili powder, salt, and pepper.
  • Spritz with fresh squeezed limejuice.
  • Devour!

Recipe adapted from Ezra Pound Cake.

Salads

Recipe—Creamy Cucumber Dill Salad

Cucumbers are one of my all time favorite summer veggies. I just slice them up and eat them plain. There are also lots of other wonderful healthy ways to enjoy the fresh veggie. This is one of my new favorite ways to prepare cucumbers. The dressing makes your taste buds come to life. It is tangy and very refreshing. Perfect for a warm afternoon! This recipe pairs great with pretty much any protein and is a fabulous addition to your summer cookouts. You can whip this salad up super quick and it is incredibly healthy all around. Low cal, low carb, and delicious! What more could you want in a recipe?

INGREDIENTS
2 cucumbers, thinly sliced (peeled is optional)
1 red onion, thinly sliced
2 tbsp lemon juice
1 c plain Greek yogurt
1 tsp fresh dill, chopped
1/2 tsp sugar
salt and pepper to taste

STEPS

  • In a medium bowl combine the cucumbers and onions.
  • In a small bowl mix together the lemon juice, Greek yogurt, dill, sugar, salt, and pepper.
  • Pour the dressing over the cucumbers and toss to coat.
  • For a nice presentation sprinkle with a little extra chopped dill.
  • Place in the fridge and chill until ready to serve.
Side Dishes

Recipe—Baked Sweet Potatoes

I know many people think that sweet potatoes are a fall dish but why should we limit ourselves to only eating the sweet root vegetable during the cooler months? I am still getting sweet potatoes almost every other week in my produce box and have had fun getting creative with them. The other day at the grocery store I saw some turkey breast tenderloins on sale and I decided to cook a mock Thanksgiving dinner. A Thanksgiving feast once a year is not nearly enough! These potatoes are sweet, tangy, and even had a little hint of spice. They will really get your taste buds going. I’m so glad I made these because they were the perfect side dish for our citrus grilled turkey tenderloins.

Note: I used Hannah sweet potatoes but this recipe works with any type of sweet potato. That is why these are lighter in color than the typical orange sweet potato you may be used to seeing.

INGREDIENTS
4 large sweet potatoes, sliced into 3/4” medallions
1/2 c fresh squeezed orange juice
1/2 tsp orange zest
1/3 c maple syrup
1 tsp cinnamon
3/4 tsp ground ginger
1/2 tsp nutmeg
pinch of cayenne
1/4 tsp salt
1/2 c dried cranberries
3 tbsp butter
2 tbsp brown sugar

STEPS

  • Preheat oven to 400º.
  • Place the sweet potatoes in a large bowl and add the orange juice, zest, syrup, cinnamon, ground ginger, nutmeg, cayenne, salt, and cranberries. Toss to coat evenly.
  • Transfer the sweet potatoes along with all the juices to a baking dish.
  • Slice the butter and place the pats over the top of the sweet potatoes.
  • Sprinkle with the brown sugar.
  • Cover with foil and bake for 20 minutes.
  • After 20 minutes lift the foil and using a baster or a large spoon, pour some of the liquid from the baking dish over the top of the potatoes.
  • Bake for an additional 30 minutes or until the potatoes are tender.
  • Remove the foil and turn on the broiler for 3 minutes to caramelize the top.
Kitchen Tips

Kitchen Tip—How to Roast Peppers

Roasting peppers at home is surprisingly easy. They are great in sandwiches, Mexican dishes, and even pasta. I use roasted bell peppers and jalapeños pretty frequently in cooking. They seem to hold up best since they have a nice thick flesh. If you have an abundance of peppers and you are unable to use them all before they spoil, roasting and freezing them is a great way to preserve them. This is what I did with my crop of jalapeños at the end of the summer. They will last in the freezer for 3–6 months depending on how you store them. I love always having them on hand ready for whatever flavorful dish I’m cooking up next!

INGREDIENTS
any type of pepper, washed and dried

STEPS FOR ROASTING PEPPERS

  • Put your oven’s rack on the highest rung possible and turn on the oven broiler.
  • If roasting small peppers, such as jalapeños, place them on a skewer for easy handling.
  • Place the peppers on a foil lined baking sheet.
  • Broil the peppers for 10–12 minutes or until the skin is blackened.
  • Flip the peppers over and broil for another 10 minutes.
  • Remove the peppers from the oven and skewer and place them in a paper lunch sack. If you do not have a paper lunch sack place them in a small bowl and cover tightly with saran wrap.
  • Allow the peppers to steam in the bag or bowl for 15 minutes. This helps to loosen up the skin for easy removal.
  • Pull the stems out of the peppers and carefully peel off the charred skin.
  • Slice the peppers down one side filleting them open
  • Spread the pepper open and use the backside of the knife to scrape the seeds out.

STEPS FOR FREEZING ROASTED PEPPERS

  • Place your roasted peppers on a wax paper lined baking sheet making sure they don’t touch.
  • Place the baking sheet in the freezer and leave there over night.
  • Once the peppers are completely frozen place them in an airtight baggie or container. By freezing them on a sheet first it keeps them from sticking to each other once in a single container or bag.
Side Dishes

Recipe—Celery Root Puree

First time I ever had celery root puree was over at a friend’s house for an incredible dinner. Ever since then I have been in love with the creamy rich side dish. Celery root puree is a worthy competitor of mashed potatoes and takes a dinner from average to over the top. Don’t be intimidated by celery root, it is just as easy to prepare as mashed potatoes. While it may be gnarly and unattractive out the outside it has a very delicate and light flavor unlike anything else. By boiling the celery root in milk it gives it a silky texture that is just heavenly. This side dish goes a long way since it’s really rich. It goes magnificent with almost any kind of meat but I am especially fond of it with a nice cut of steak. Come on, be adventurous and give celery root a shot!

Note: This celery root puree can be made in advance and then reheated over the stove or in the microwave right before serving.

INGREDIENTS
1 1/2 c milk
1 1/2 c water
2 tsp salt
1 large celery root, peeled and cut into 1” cubes
1 medium russet potato, peeled and cut into 1” cubes
1/2 of a small yellow onion, quartered
3 tbsp butter, cut into 3 pieces
salt
1/4 tsp ground white pepper
1 tbsp fresh chives, chopped

STEPS

  • In a large saucepan bring the milk, water, and salt to a rapid boil over medium-high heat.
  • Add the chopped celery root, potato, and onion to the pot.
  • Reduce heat to medium and simmer until the vegetables are fork tender, about 25 minutes.
  • Drain off all of the liquid.
  • Place the cooked vegetables and the butter in a food processor or blender and puree until smooth. (Add a splash of cream or milk if needed.)
  • Season the puree with salt and white pepper.
  • Transfer the celery root puree to a serving bowl or plates and garnish with chopped chives.
Salads

Recipe—Mango and Bok Choy Salad

My produce box was filled with lots of fabulous goodies this week. I had almost all the makings for a delicious tropical salad, bok choy, mango, and cilantro. Yum! While many recipes that include bok choy have you cook the leafy green it is also great for salads or slaws. Bok choy is light, sweet in flavor, and has a nice crisp texture. The nutritional value is also a huge plus. It’s high in Vitamins A, C, and K as well as calcium, potassium, magnesium, and it is low in calories. The dressing for this salad is sort of a citrusy vinaigrette that keeps the salad light and refreshing. This salad was the perfect cooling component for the spicy prawns I served with it. With all these bright colors I can’t help but think that this is the perfect dish for the coming spring and summer seasons.

Note: You can use a regular head of bok choy or about 4 baby boy choy. Baby book choy has a milder flavor but both will work well with this recipe.

INGREDIENTS
4 c bok choy, mostly greens with some stalks thinly sliced
1 1/2 c red cabbage, thinly sliced
2 mangos, diced
3 stalks celery, thinly sliced
4 green onions, thinly sliced
1/4 c fresh cilantro, chopped
3 tbsp rice vinegar
4 tbsp limejuice
1 tbsp sugar
3 tbsp olive oil
2 tsp soy sauce
1/4 tsp salt

STEPS

  • Combine the bok choy, cabbage, mango, celery, green onions, and cilantro in a large bowl.
  • In a small bowl whisk together the rice vinegar, limejuice, sugar, olive oil, soy sauce, and salt until most of the sugar and salt are dissolved.
  • Pour the dressing over the salad and toss to combine.